"Every effort has been made to capture the essence of reedmaking through the use of graphics, text, tables, and symbols. The graphics and text appear in either left– or right–handed versions where applicable. A caption and/or legend accompanies each graphic and table. Nearly every drawing is to scale, some actual size. I illustrate from the reedmaker’s perspective and/or with 3‑D effects where possible. Because reedmaking is a subtle art and contrasts in cane or metals may be difficult to capture and discuss in a photo, I use color illustrations and exaggeration to make elements of reeds and reedmaking more obvious and visible rather than literal. Remember, reedmaking is a dynamic activity — the drawings’ “freeze frame” quality allows you to study one moment in the process, not the totality of the act.
Photos of my tools and reeds are items I use or have used. I list brand names for a thorough presentation, not as an endorsement of a particular product. The reeds are descriptive, not idealized.
Tables are used to compare and contrast information at a glance. The first table of each lesson lists the tools and supplies needed for that lesson. You will find short tool lists in the adjacent margins for each reedmaking step. Throughout the book there are partially filled tables providing you space to log your reedmaking measurements.
The book utilizes geometry terms and specialized symbols. Refer to these brief definitions, referenced figures, and table 8." (page 36)

Table 8 • Symbols And Definitions
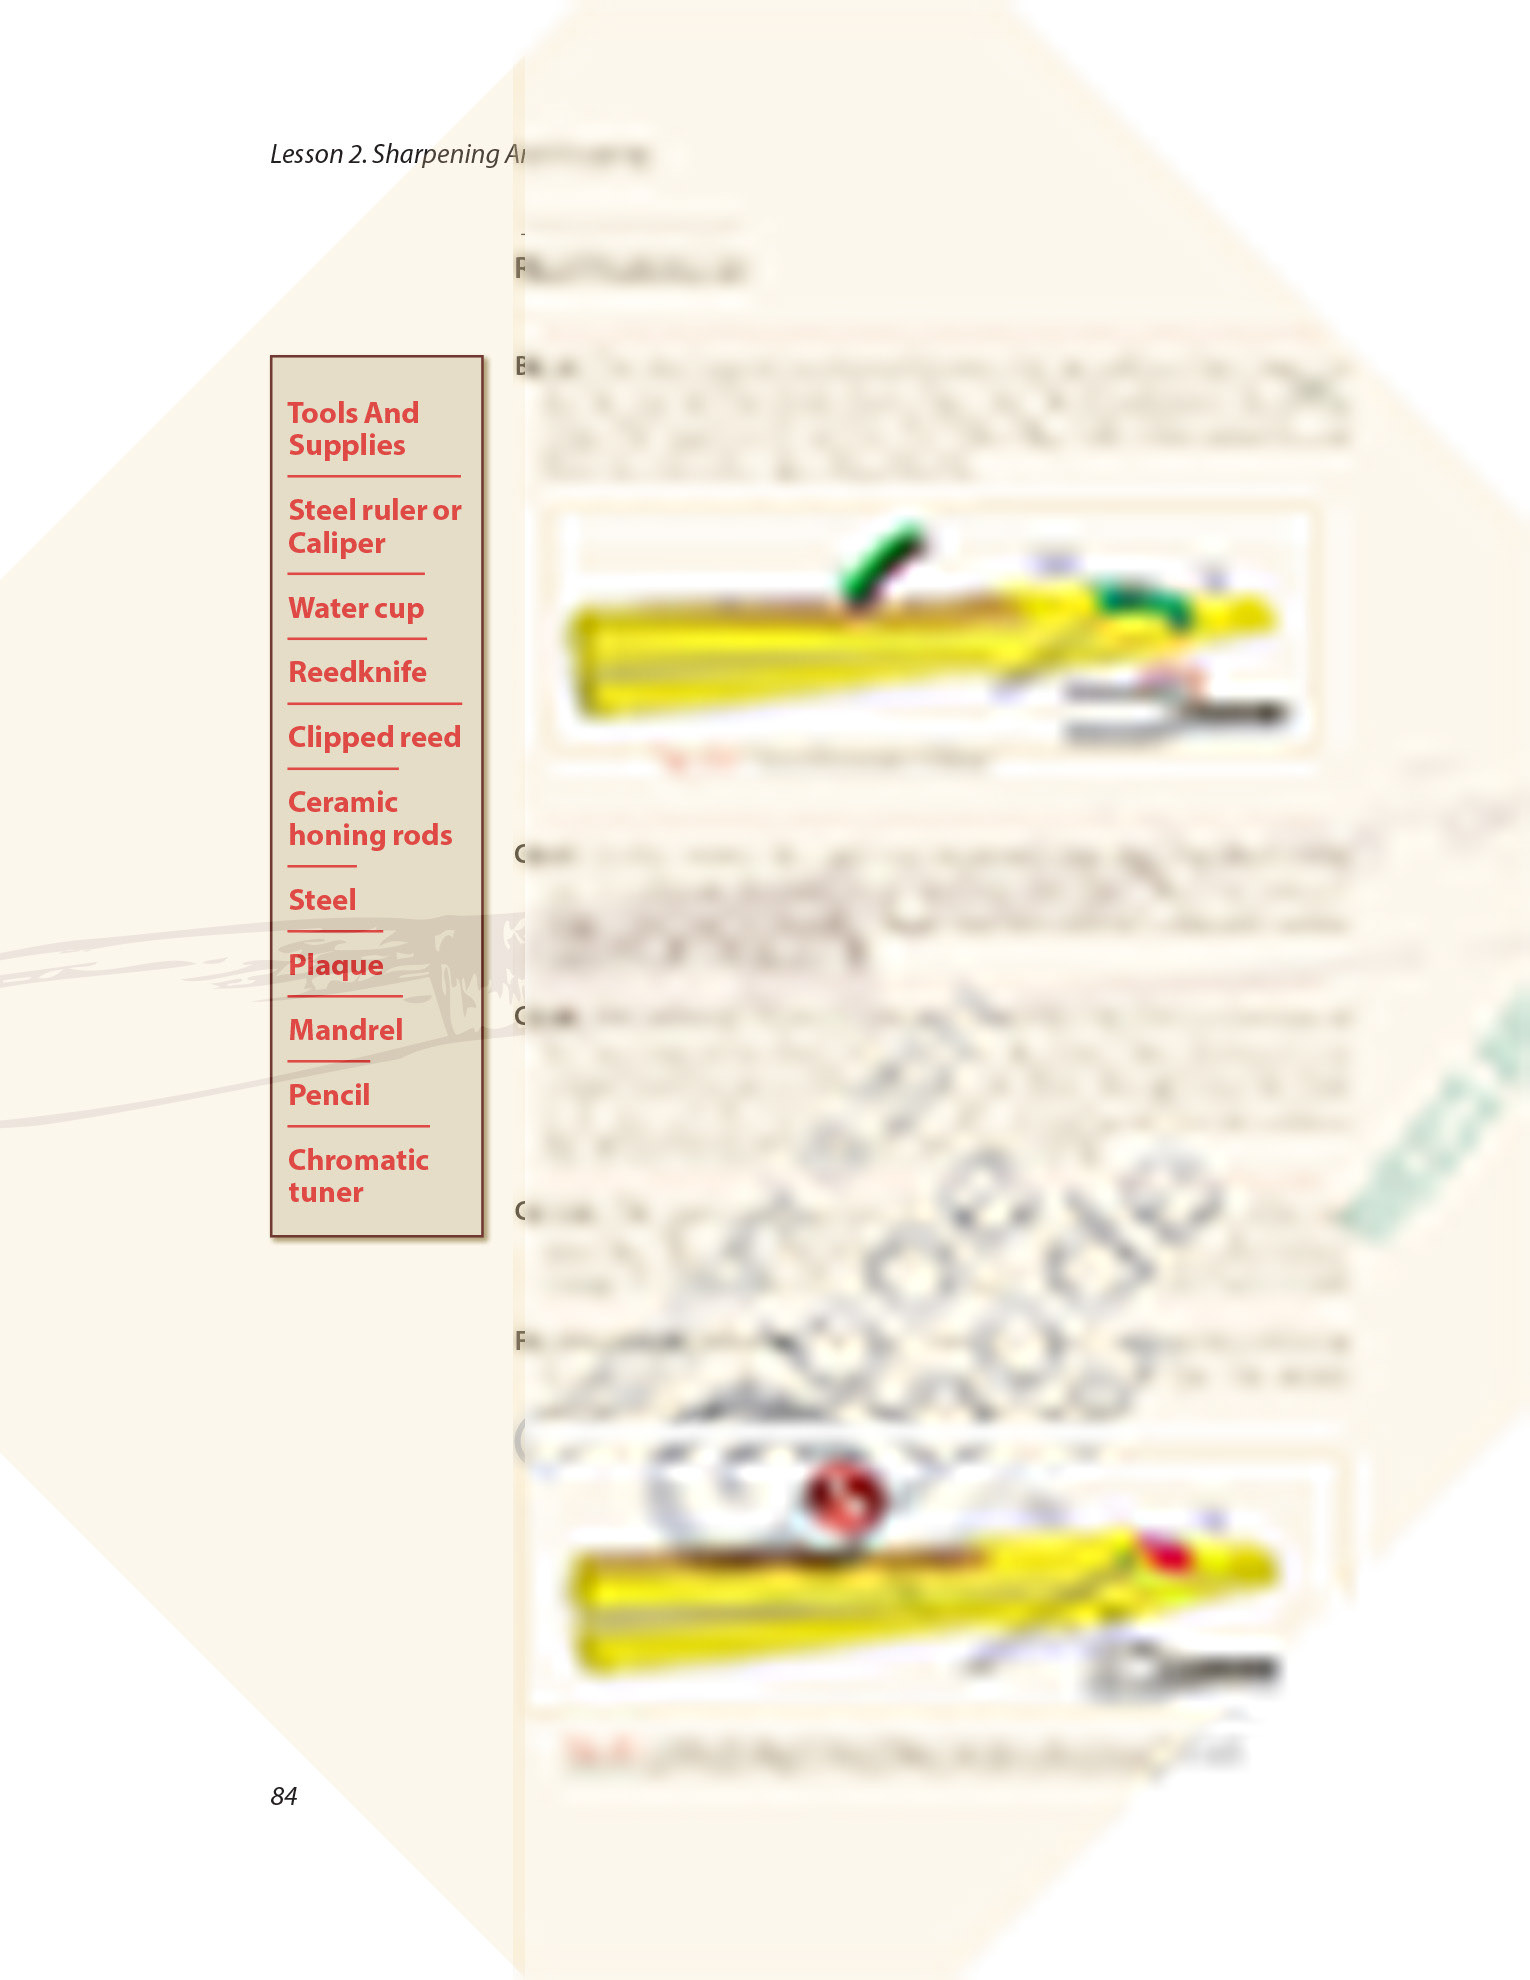
Each Section Lists All Tools And Supplies Needed
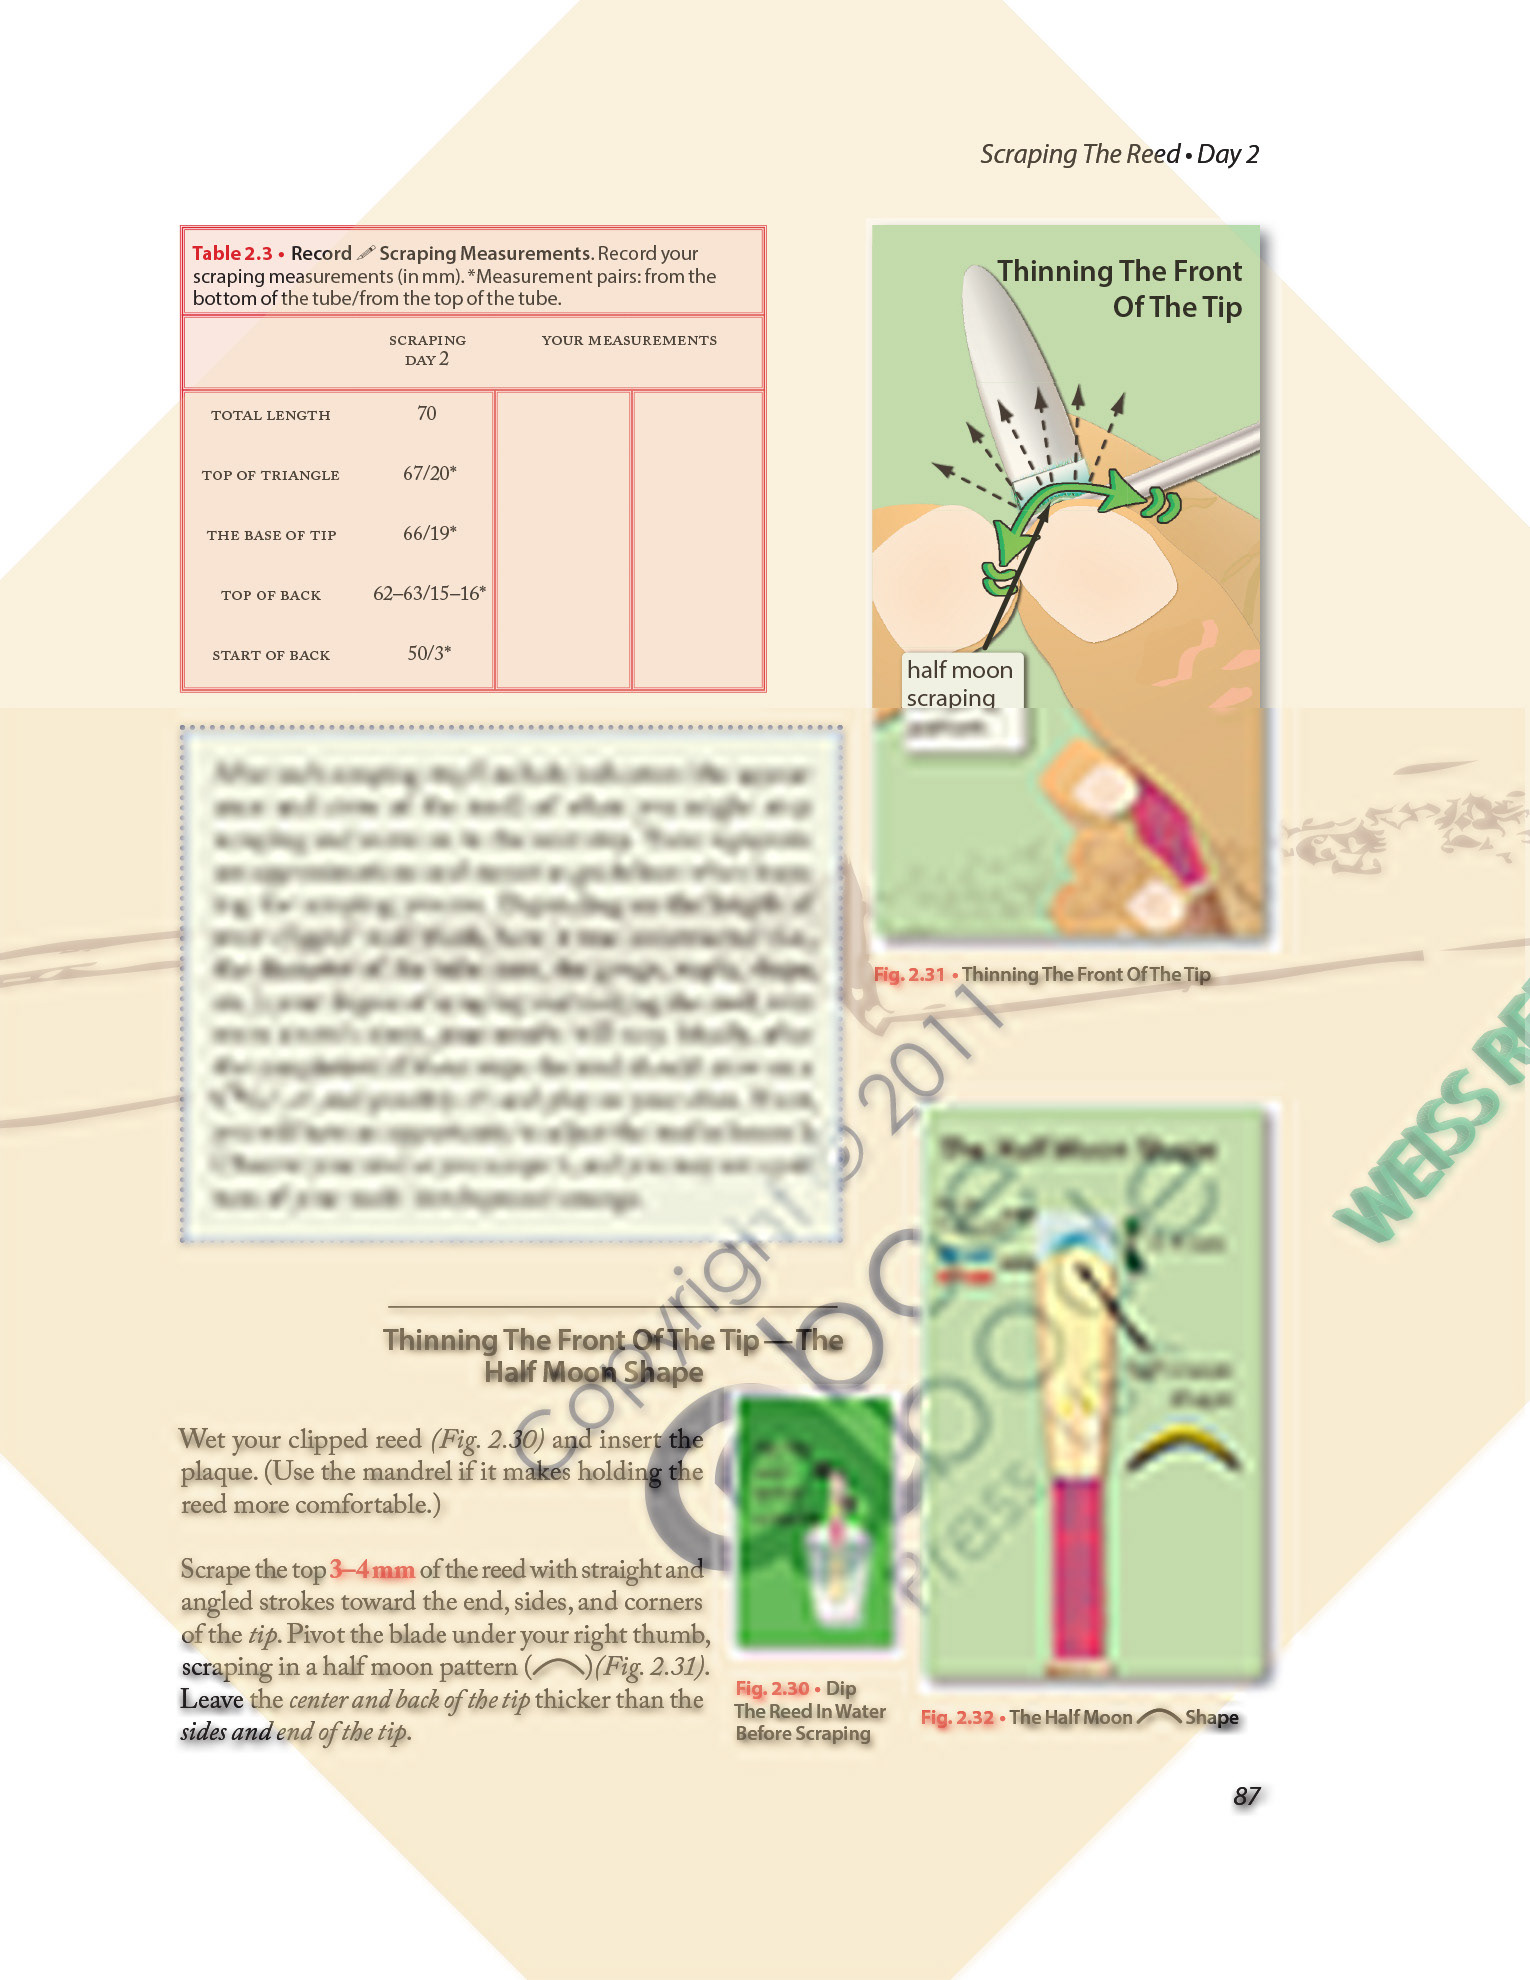
Tables Provide Measurements And Space To Add Your Own Measurements
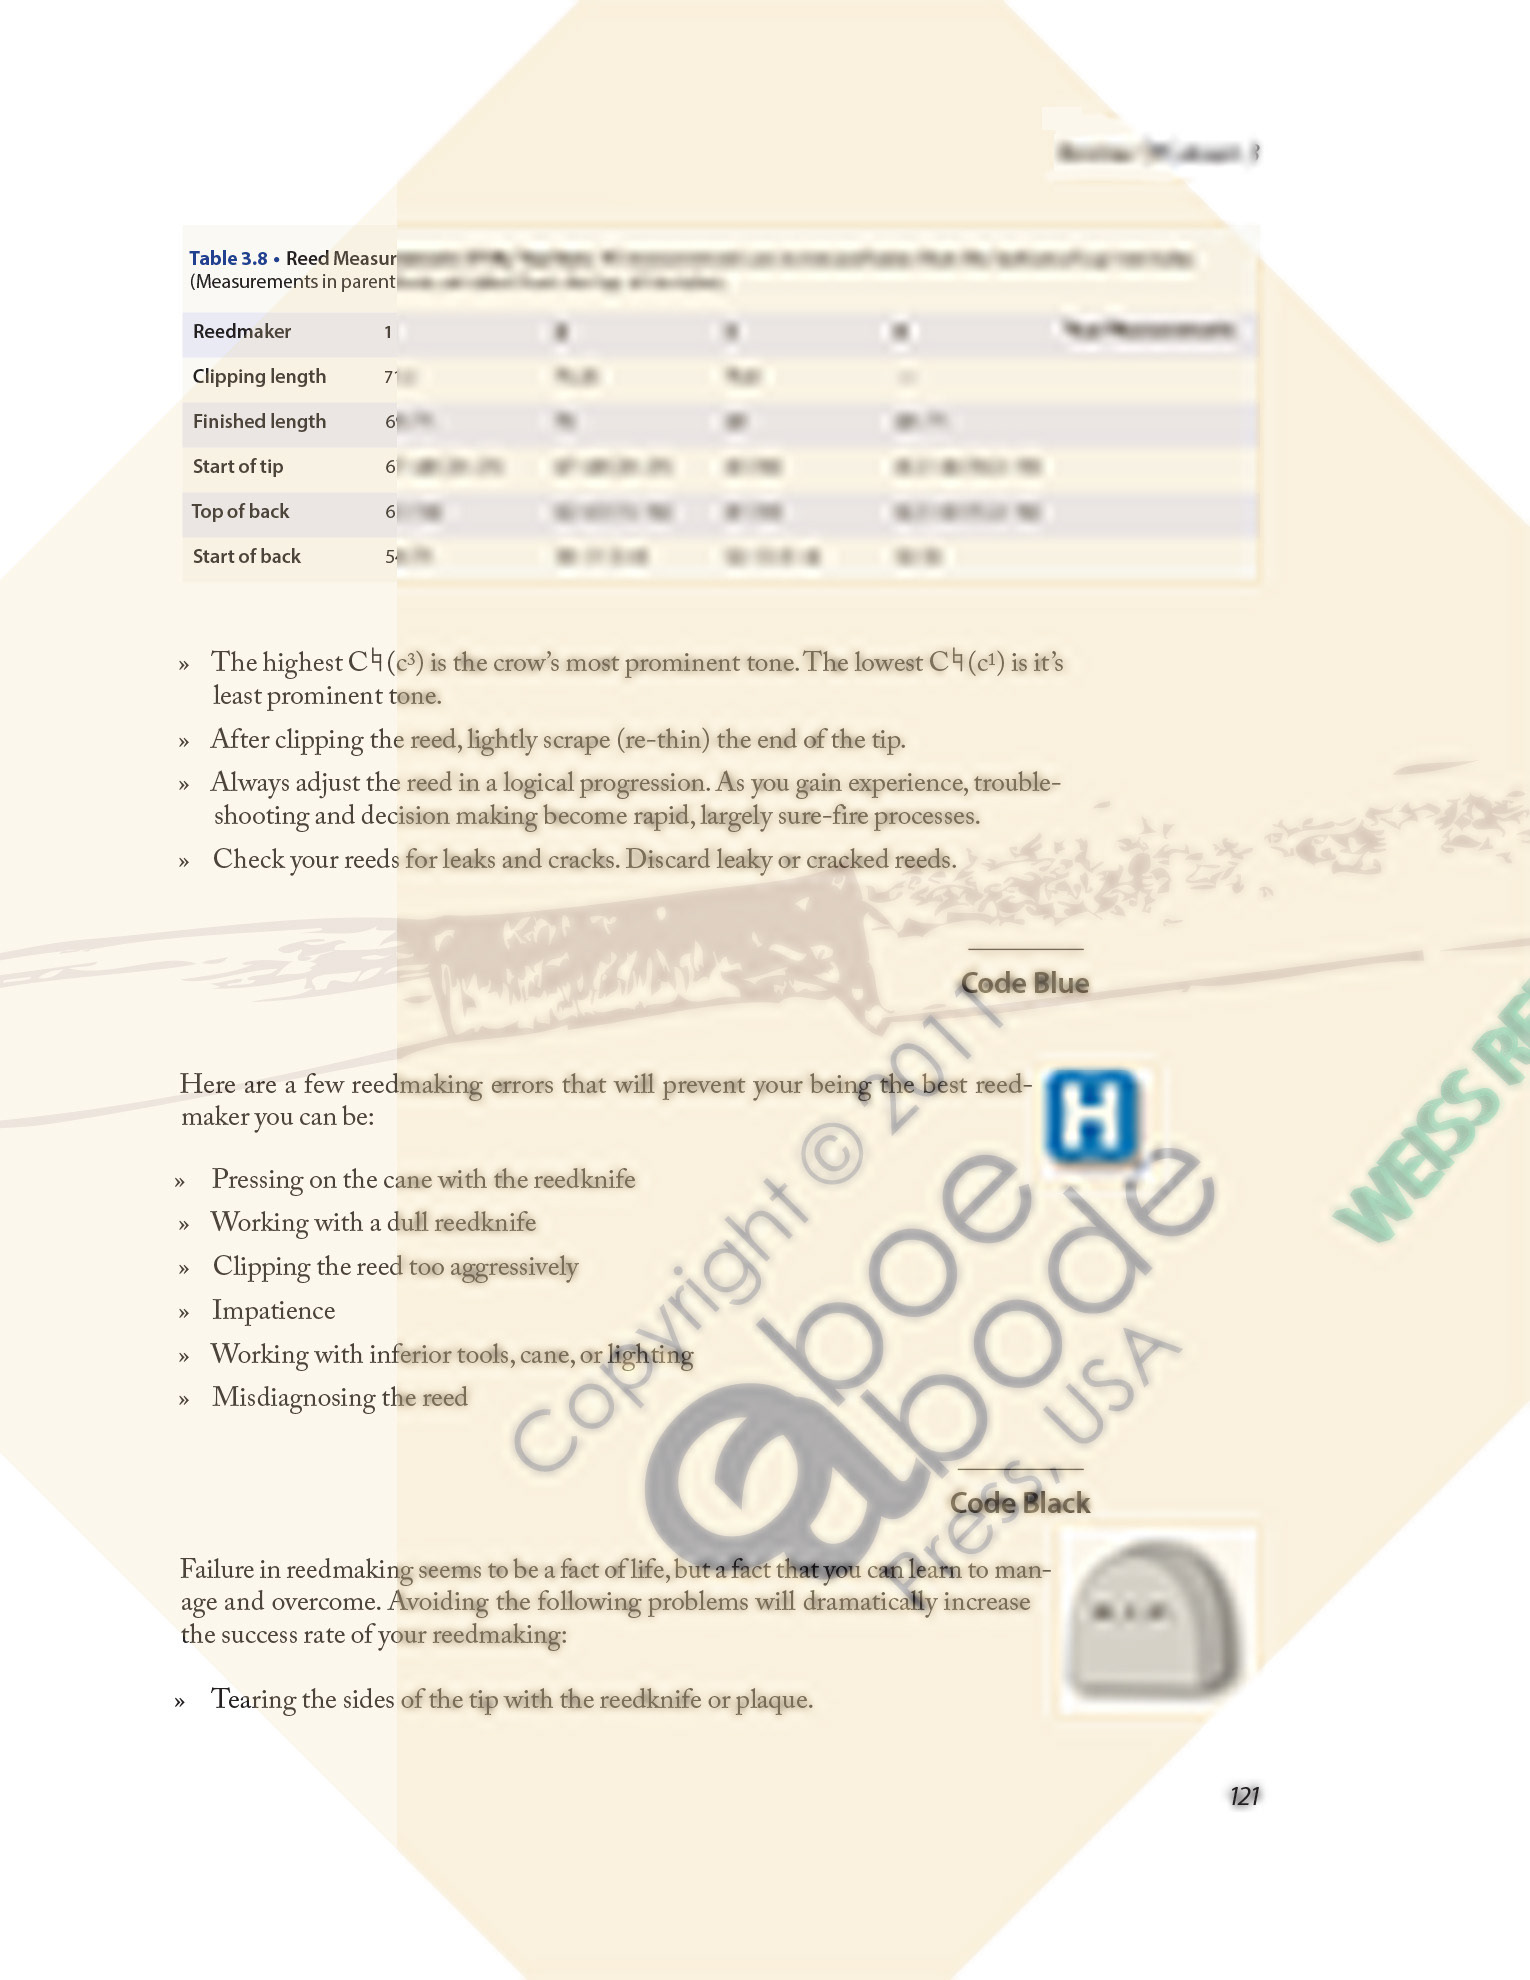
Table 3.8 • Reed Measurements