The Illustrated Encyclopedia Of Oboe Reedmaking, Volume 1 contains over 338 color illustrations and photographs of the reedmaking process, 222 pages of text and information on reedmaking; an index, footnotes, glossary, list of illustrations, and list of tables. The book is printed in the USA on 80#, acid-free, matte paper.
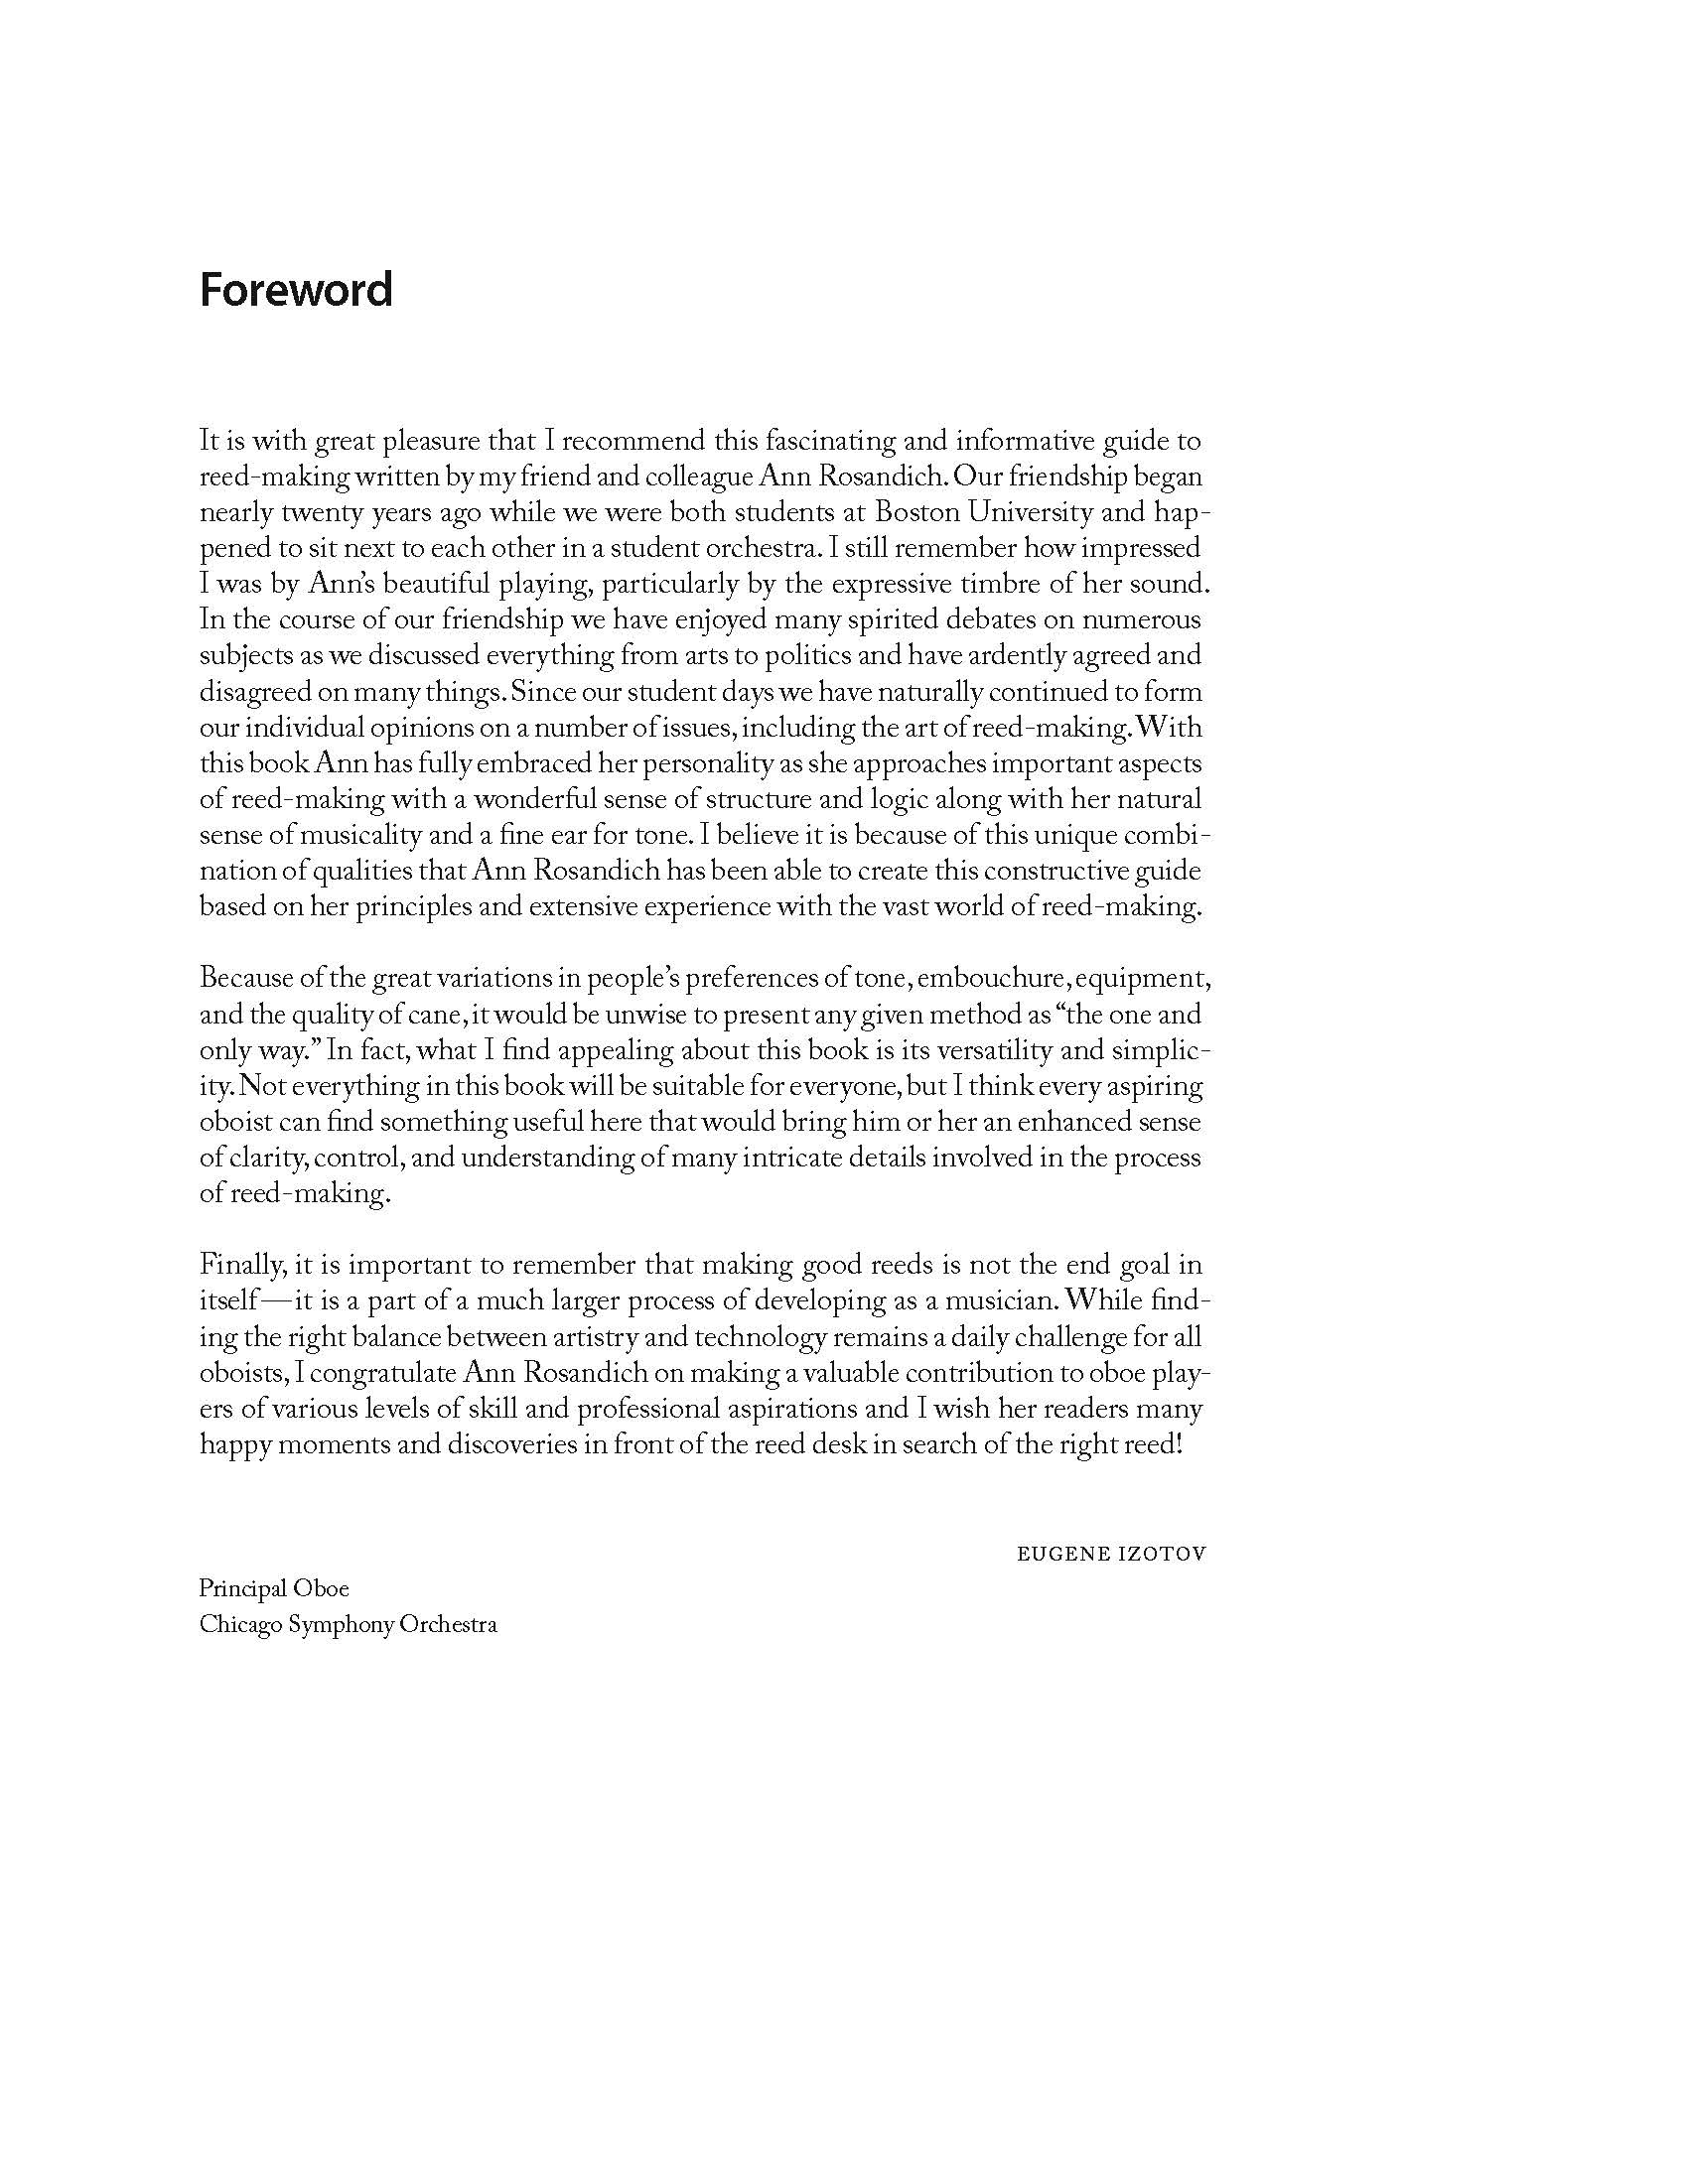
Foreword by Eugene Izotov, Principal Oboe at San Francisco Symphony, Professor of Oboe at San Francisco Conservatory of Music, Professor of Oboe at Colburn School, former Principal Oboe Chicago Symphony Orchestra

Table Of Contents
Sample Page: Measurement And Gaging
List Of Illustrations And Photographs
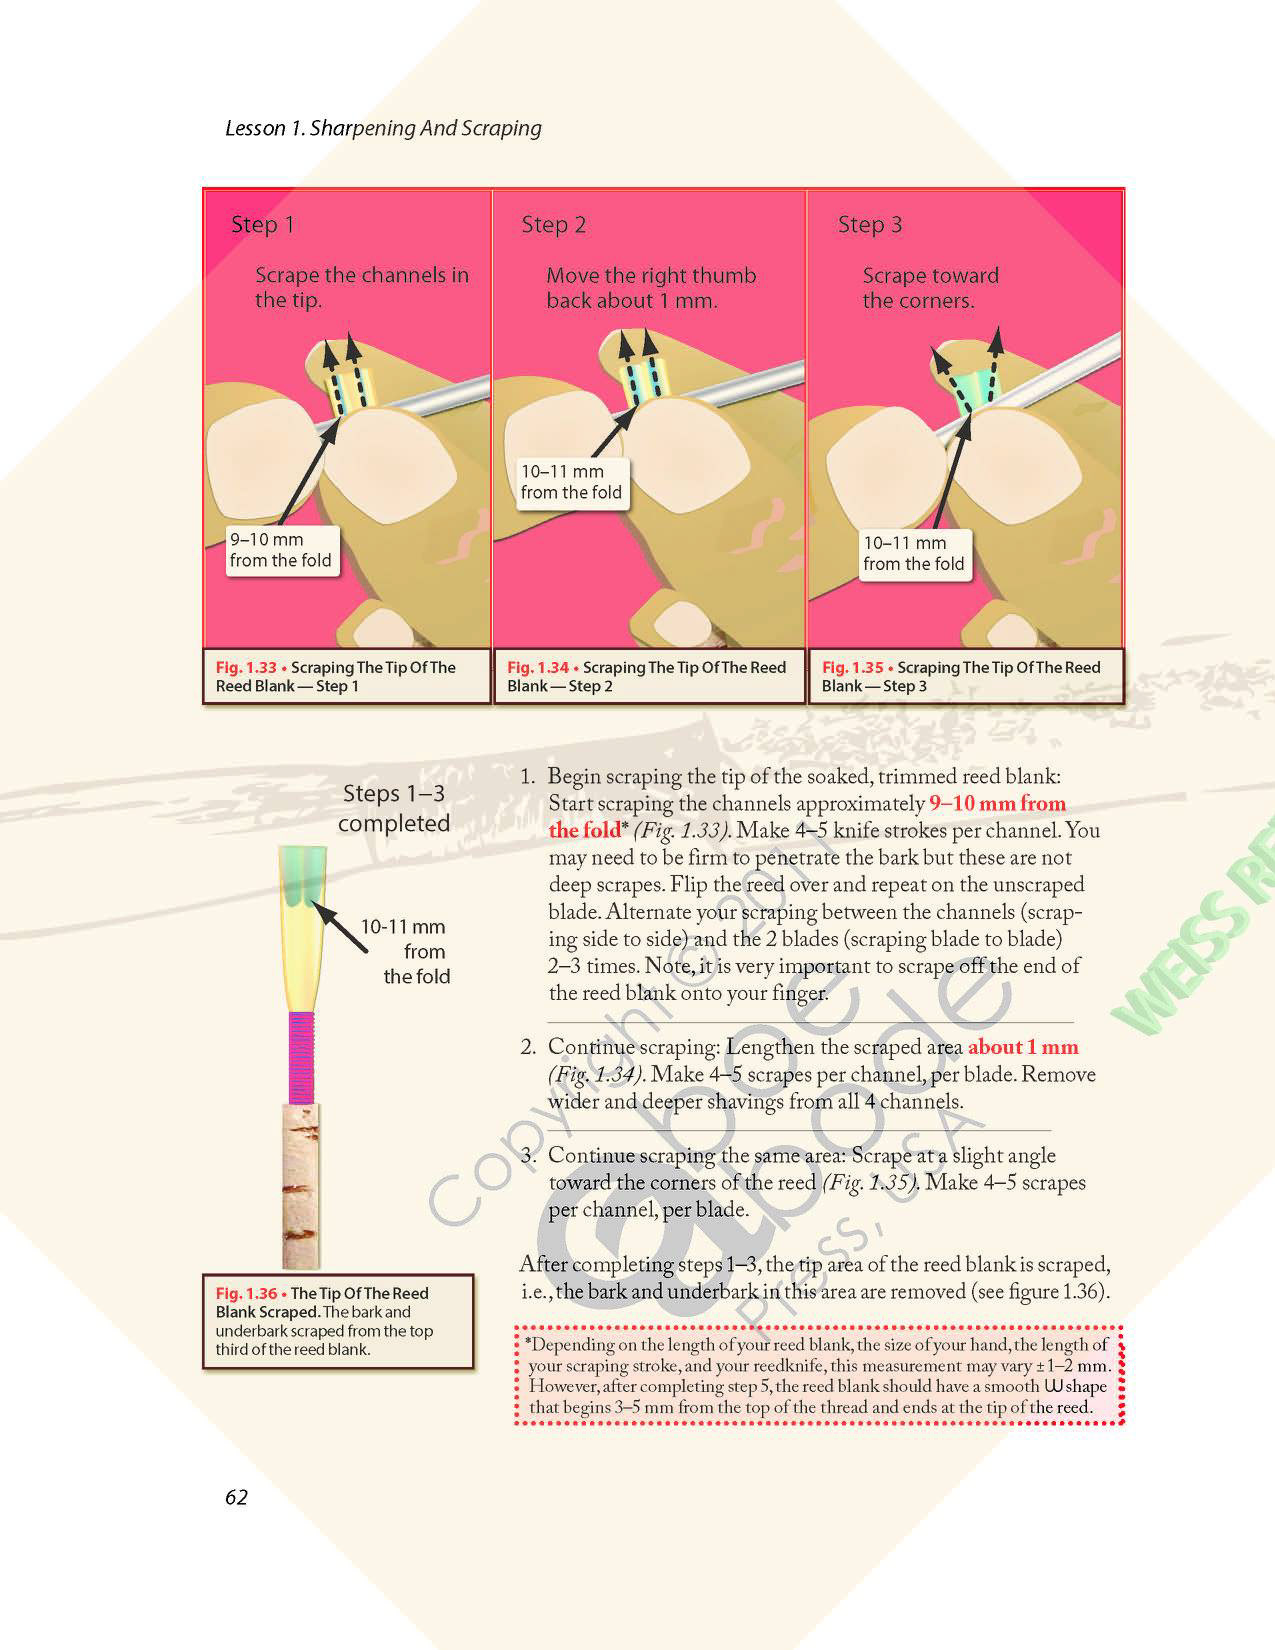
Lesson 1: Sharpening And Scraping
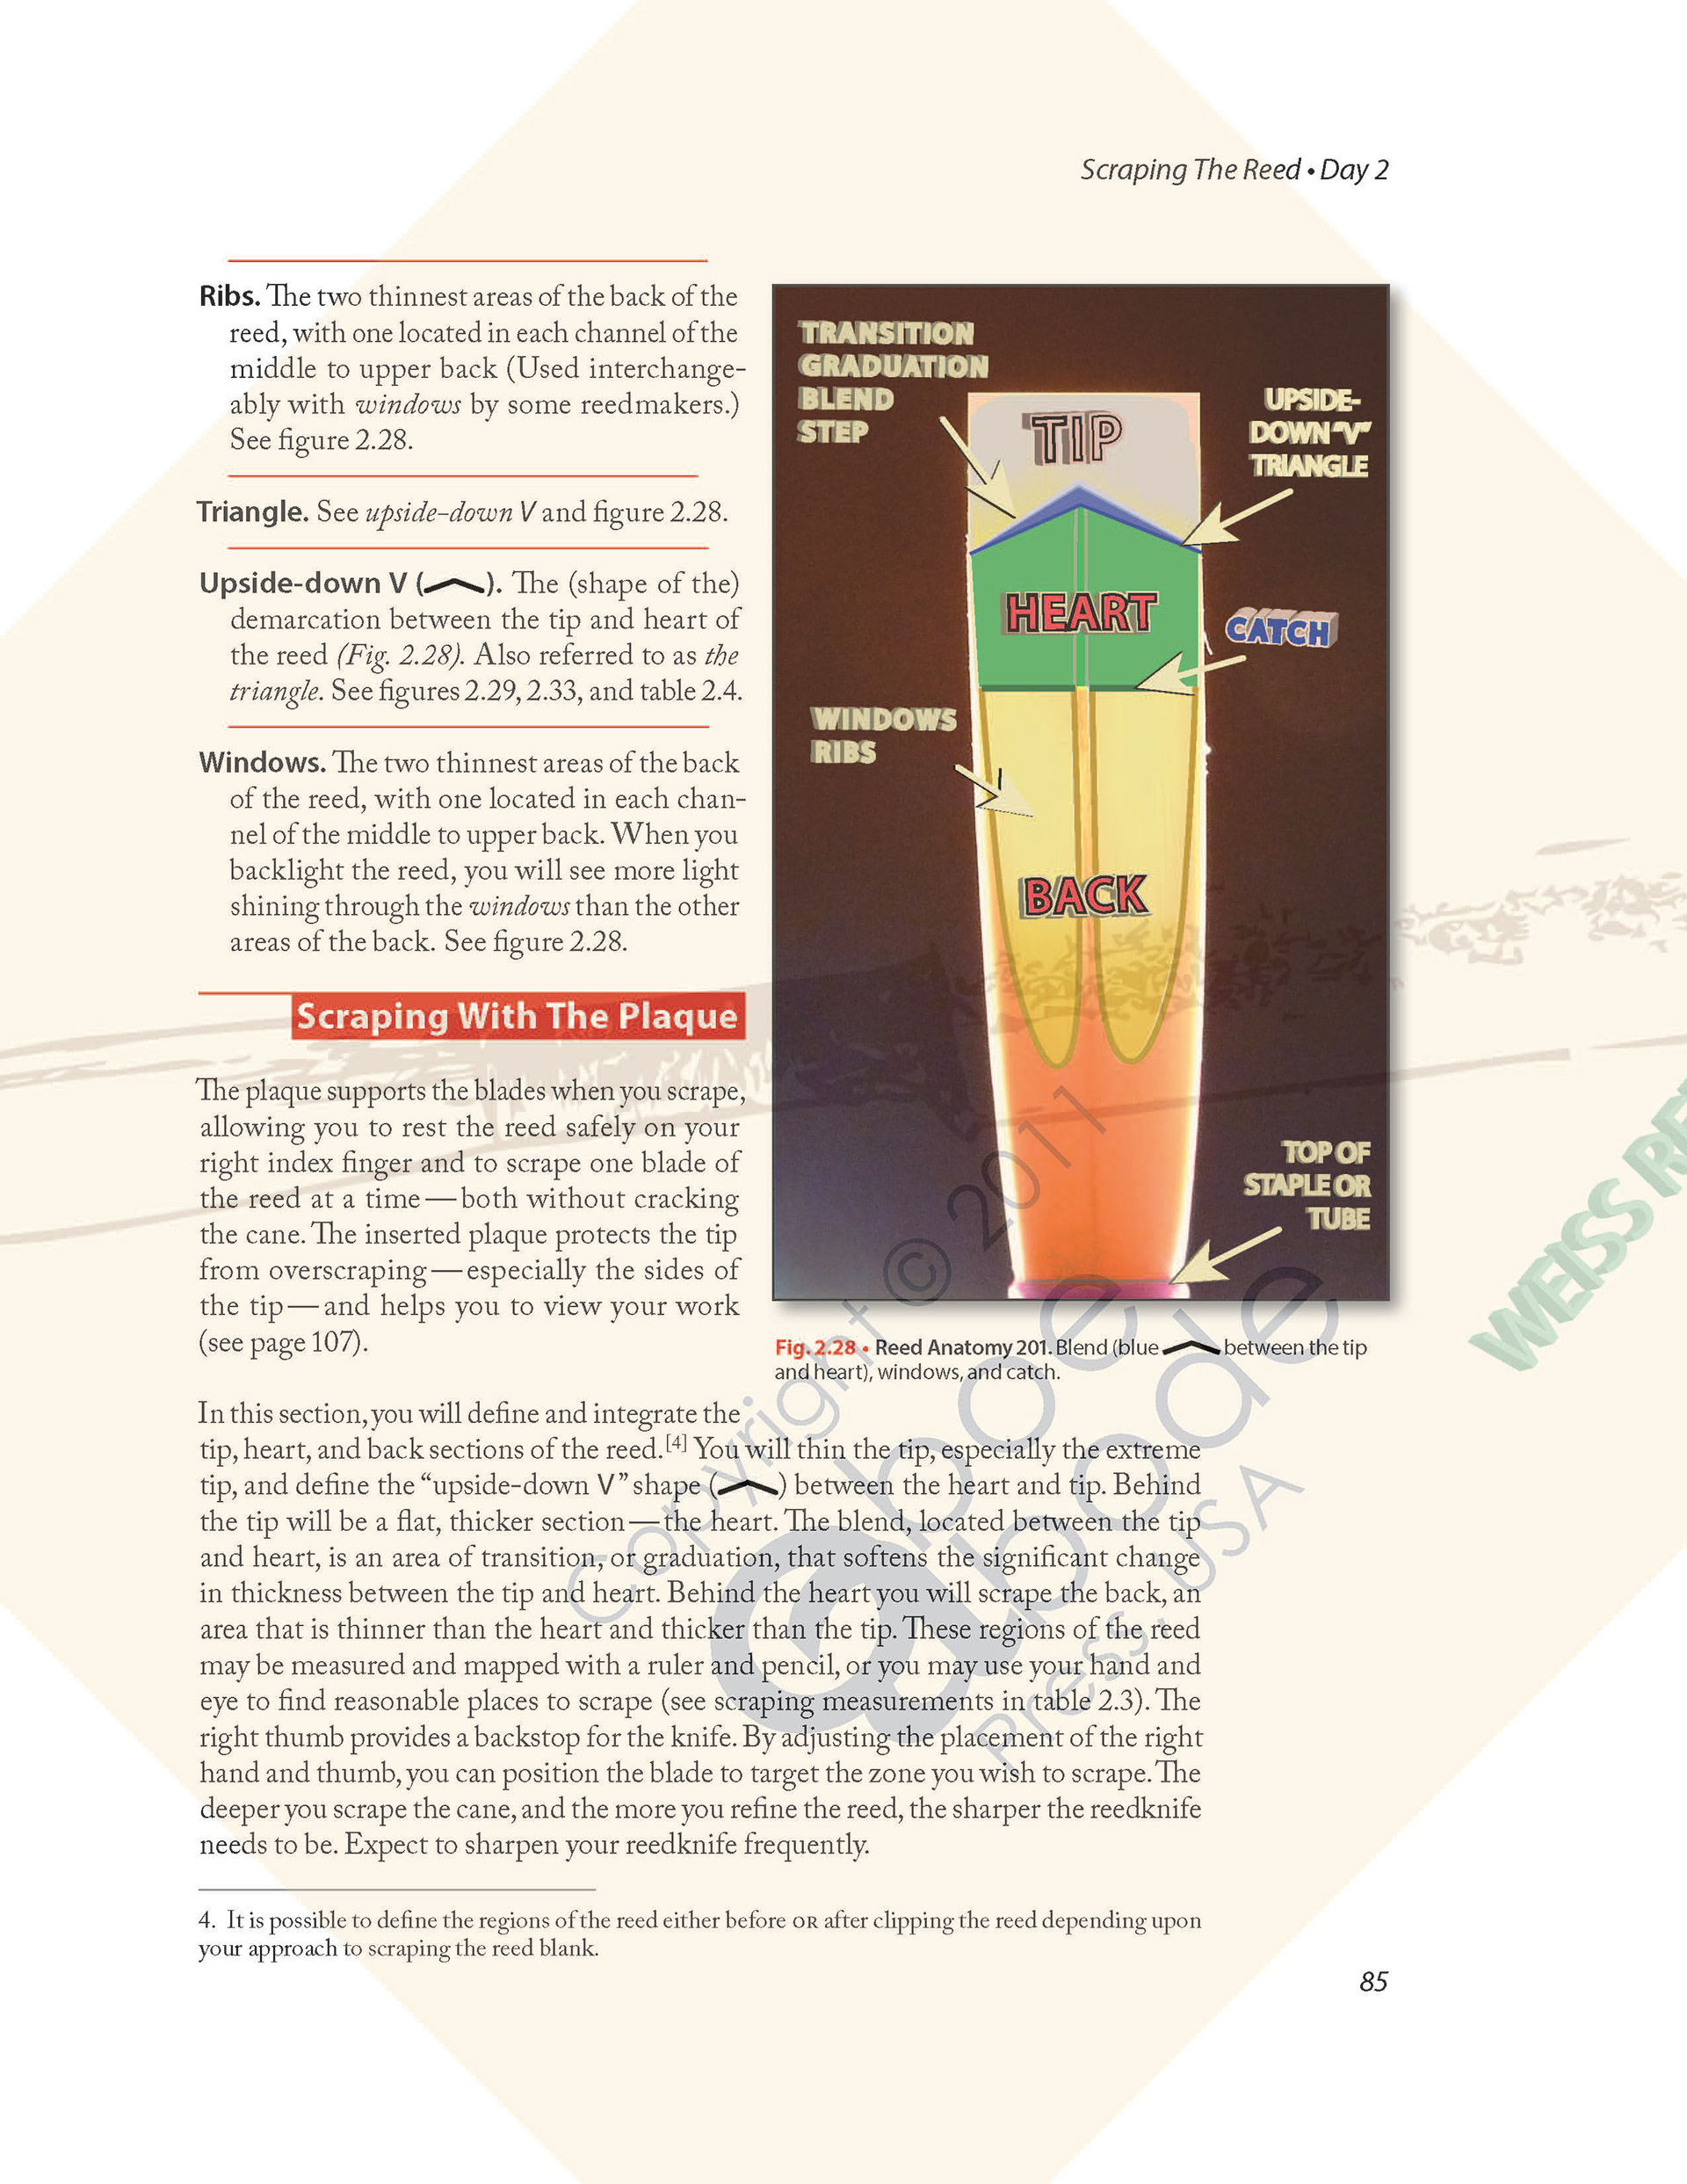
Lesson 2, Page 85
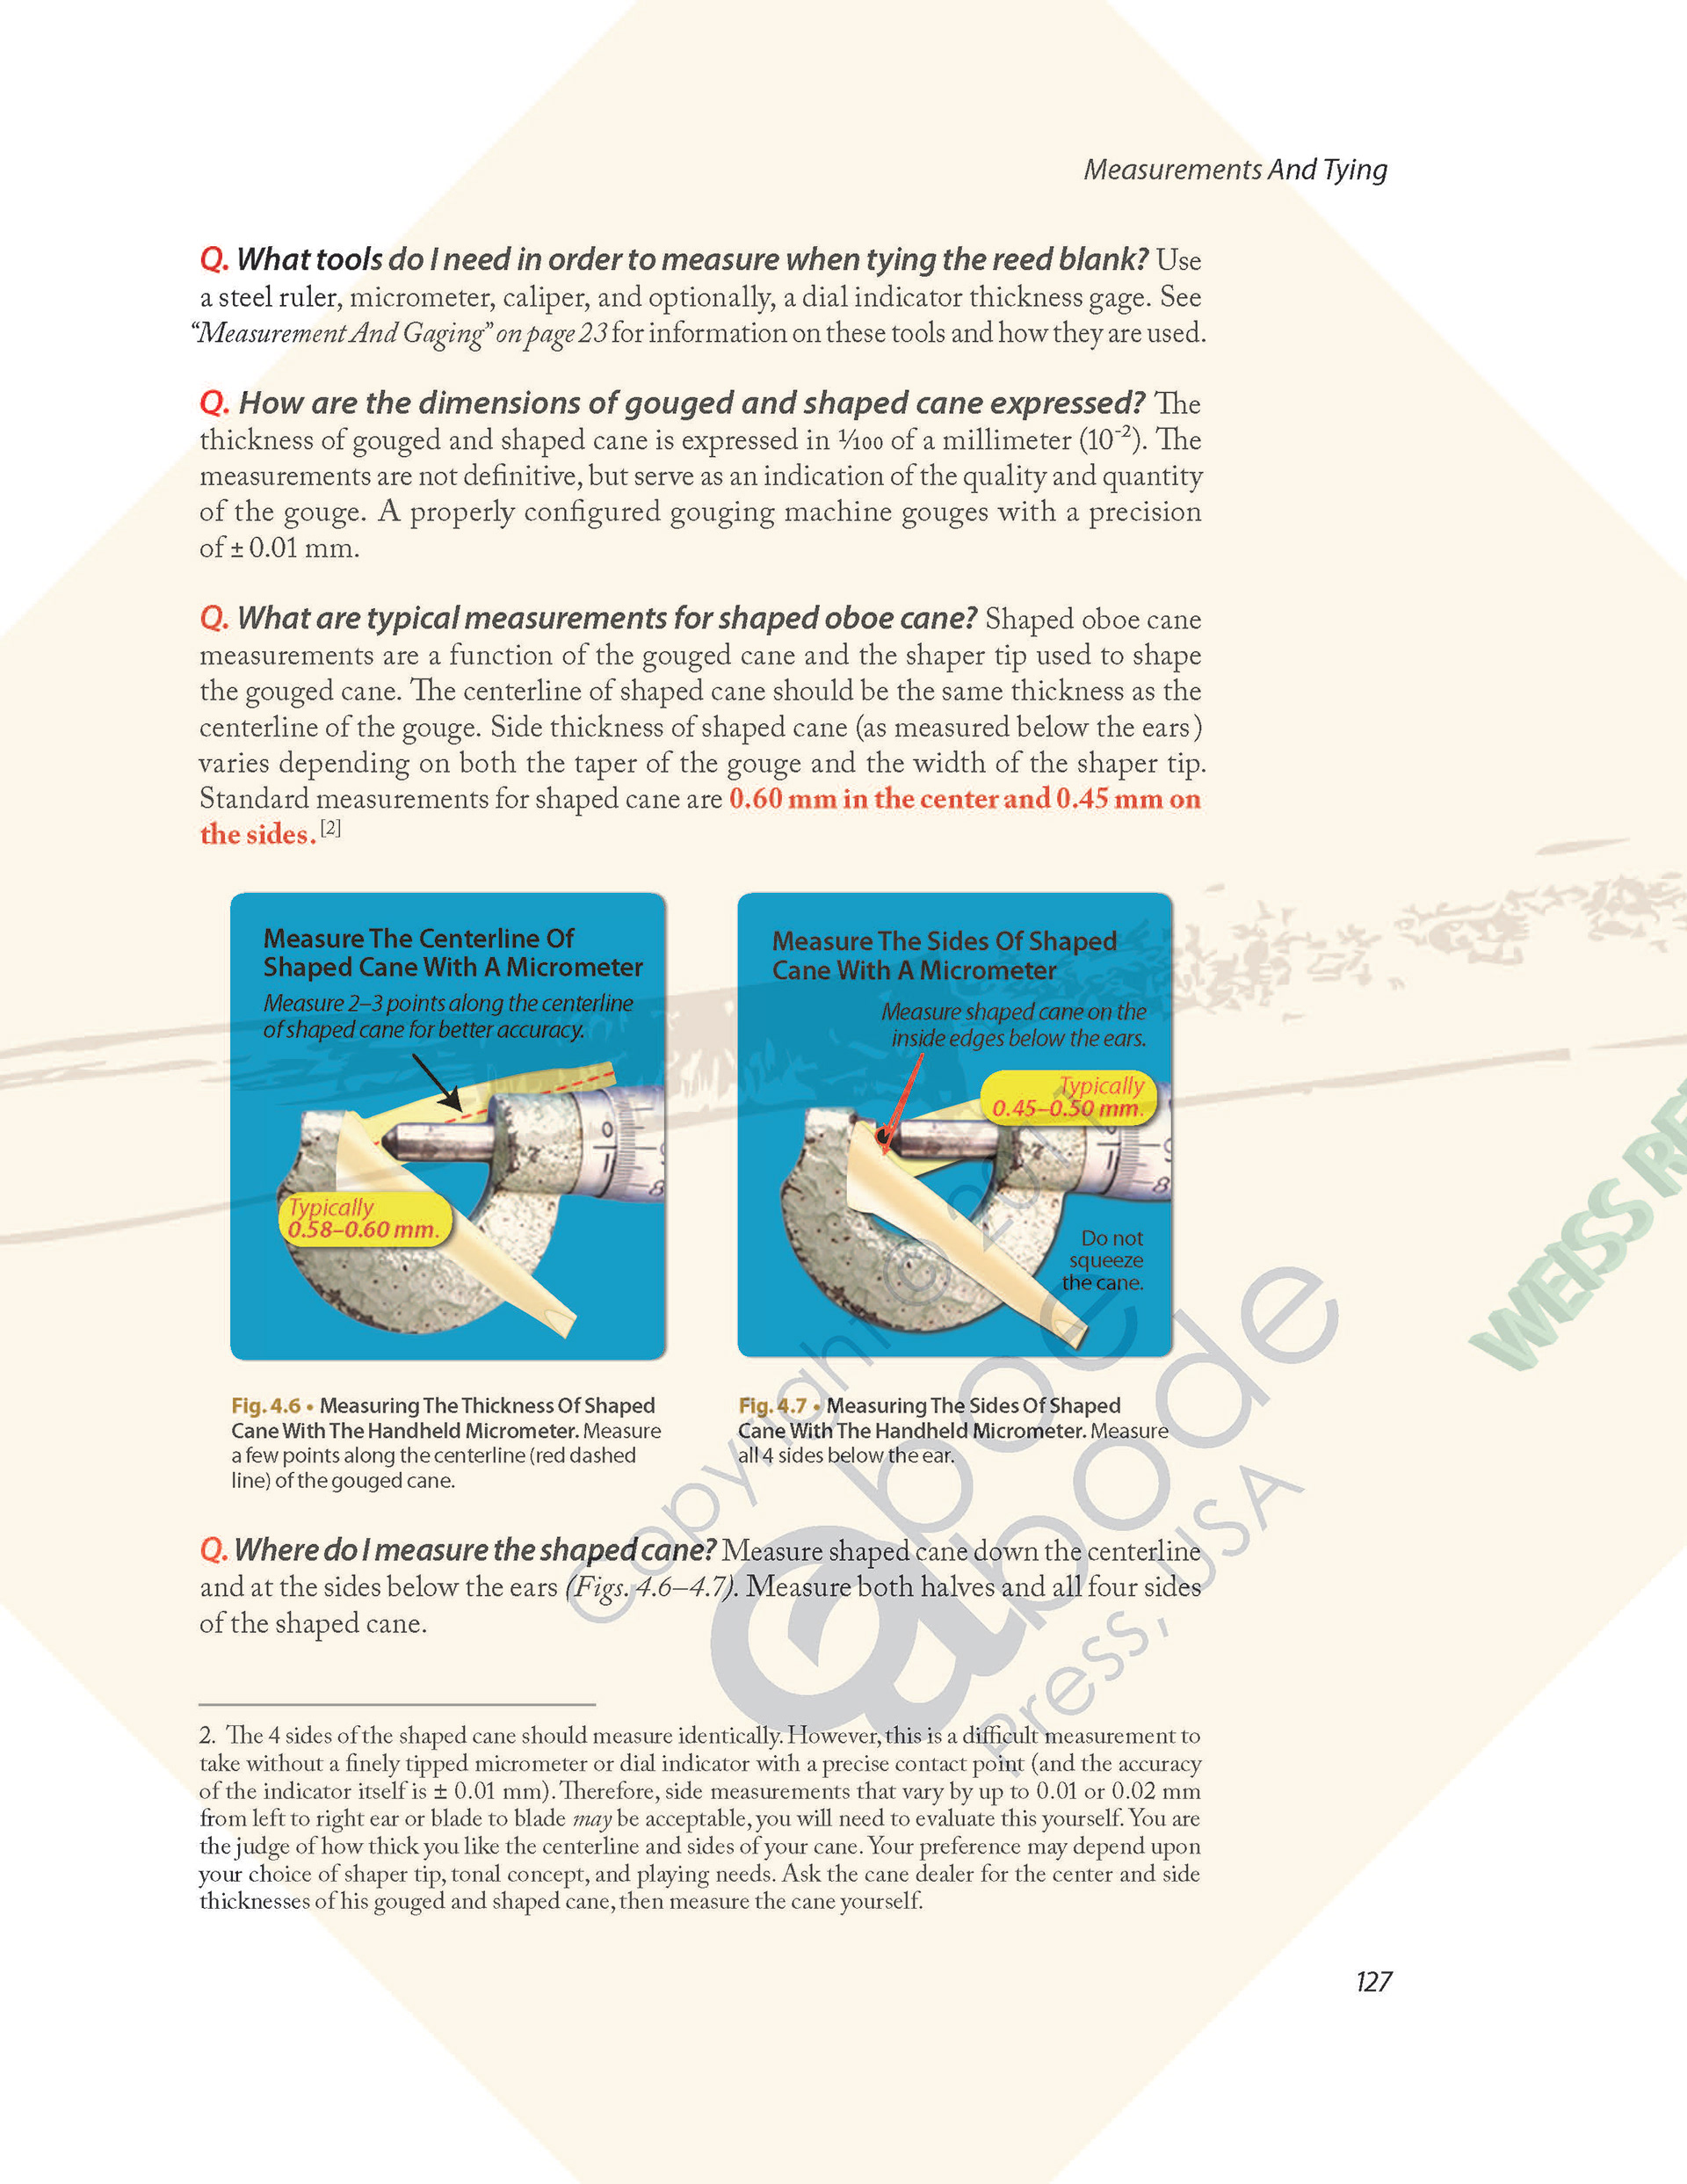
Lesson 4, Page 127
Index, Page 222, Volume 1
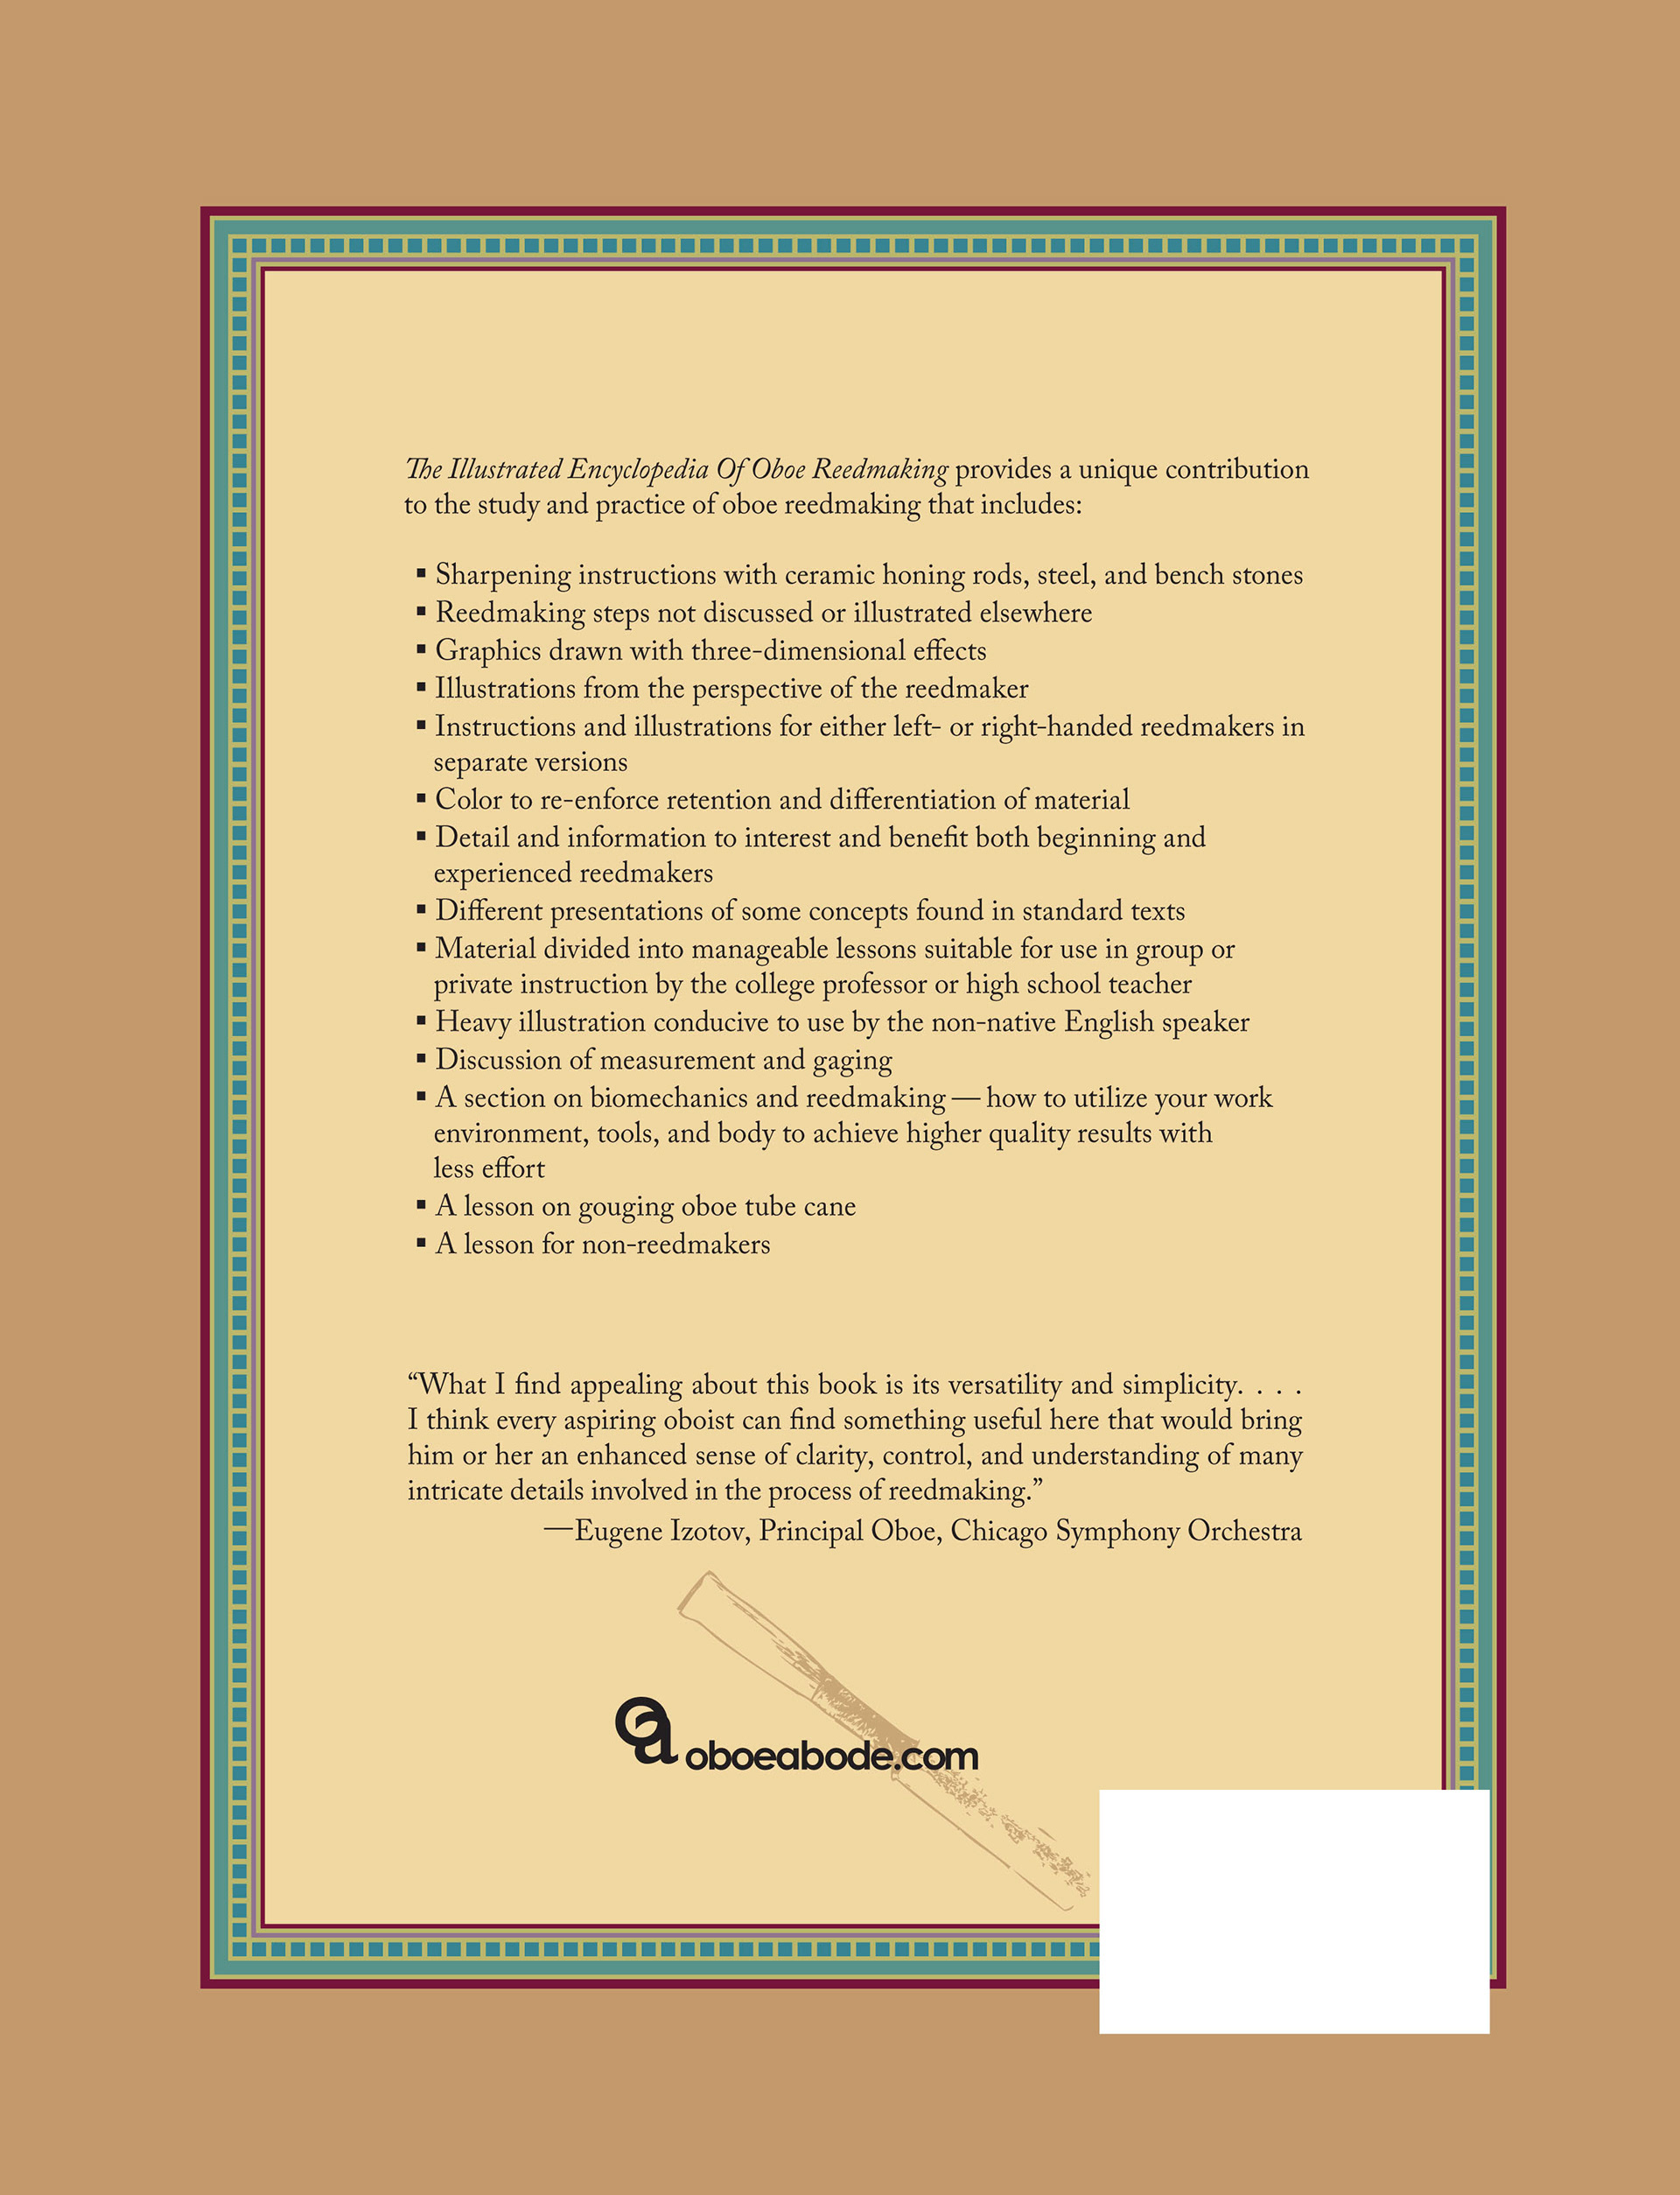
Back Cover Illustrated Encyclopedia Of Oboe Reedmaking, Volume 1